Hand Painted Pottery with Animal and Dog Art by Nan Hamilton Boston MA

How the Airedales at the Fence Pot was Made


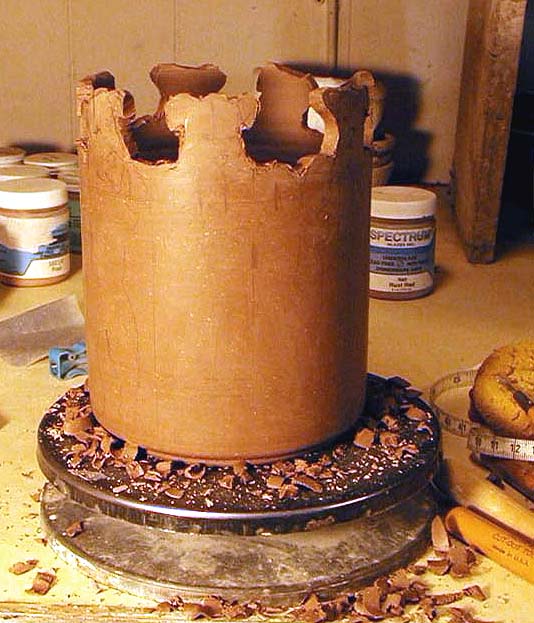
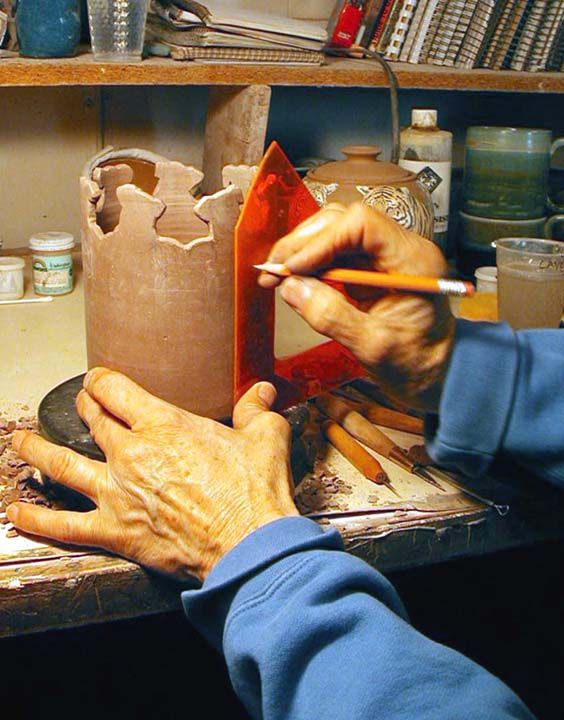
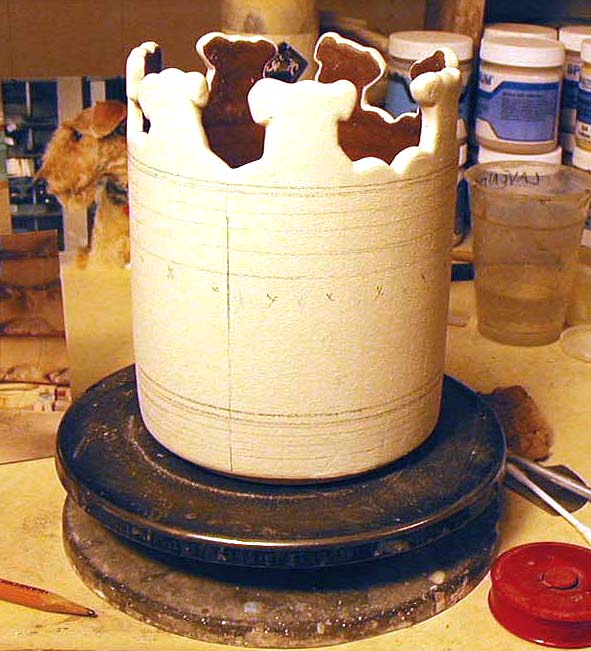
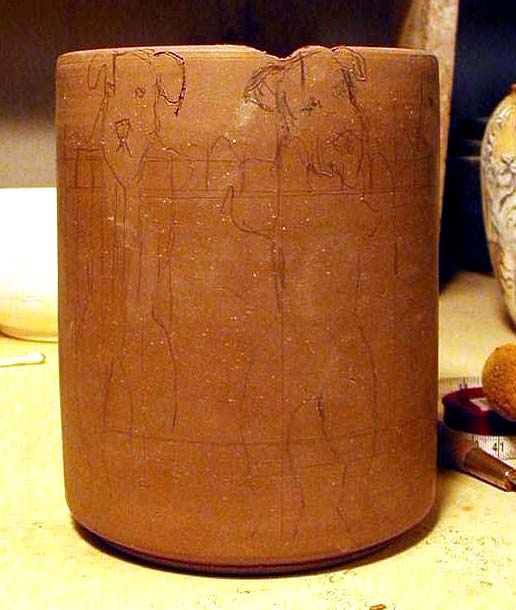
First, I threw straight-sided shape of light brown stoneware on a potter's wheel. The next day when the pot was partially dry, I trimmed the pot to make the foot on the bottom. After trimming, I lightly drew a standing Airedale on pot with a pencil to get a sense of spacing and how many Airedales would fit comfortably around the pot. I decided on seven, lightly marked seven segments on the pot, then drew in the Airedales.


Working my way around the pot, I carefully cut around the Airedale heads and paws using sharp tools similar to Exacto knives. After the rough cut-outs were done, I cleaned up and beveled the edges along the rim so they wouldn't be sharp. For this, I used the knives, fine sandpaper and a slightly damp sponge. As the pot dries, it becomes more brittle so a gentle touch is needed to avoid breakage or cracks.


It seemed like it would be easier to draw in the fence post lines at this point, using the pencil point to make a slight indent in the clay which would slightly show through when the glaze was applied. The pot was left to dry completely before it could be bisque fired and the glazing could begin.


I decided to glaze the inside of the pot black to make the faces of the Airedales stand out more when you looked across the pot. Glazing a cut-rim pot takes some extra steps. If you were to simply pour the glaze in the pot, it would start running out the cut-outs before you could fill it to the rim. My solution is to fill in the cut-outs using wide masking tape, pressing it firmly to adhere to the pot. Then you can fill the pot with glaze.


After the interior black glaze is poured out, the masking tape can be removed. To glaze the outside, I cover the black glaze with wax resist, and dip the pot in the white glaze top in first, holding onto the foot.


Once the design is worked out in pencil - details like where the fence posts will be as well as the positions of the Airedale heads - the pot is ready to be painted with underglazes. When the painting is finally done, the pot goes into the kiln for the glaze firing. Now's the time to hope for a good firing with no unwanted surprises!


It's a good firing and the pot is done!


Return to Designing Pottery home page.


Home - Gallery - Mudville - Dog Park - BARK - Nan's Workshop


No unauthorized reproduction. Thank you. Text and Photos Copyright © 2006 Nan Hamilton